Cookies help us deliver the best experience on our website. By clicking Accept you are agreeing to the placement and use of cookies as described in our privacy policy.
How to Grow Dill Indoors?
Are you ready to embark on a journey of growing your own fresh dill right in the comfort of your home? Imagine having a constant supply of aromatic dill leaves to enhance your culinary creations and bring delight to your fellow dinner patrons.
And though indoor gardening is quickly gaining traction in the urban world, Gardyn’s innovative solutions make it even easier for both experienced and novice gardeners to achieve a thriving indoor dill garden like never before.
DAYS TO SPROUT
7-24 DAYS
MATURE IN
40-50 DAYS
TASTE IT FOR
4-8 WEEKS
Table of Contents
Care & Harvest
✂️ Pruning
If you notice any leaves with brown spots, it is advisable to remove them. Monthly inspections of the roots should be conducted, and any brown roots or those extending beyond the yPod should be trimmed.
🔎 Plant Health
Aphids are a commonly encountered pest, but you can employ our prevention and treatment techniques to keep them away!
🥬 Harvest
Regular harvesting helps in prolonging the plant’s lifespan. Once the plant reaches maturity, trim the upper third of the plant every two months, and take smaller fronds as needed. To prevent the plant from diverting its energy towards flower production, pinch off any appearing flowers. For denser growth, begin harvesting leaves from the top and work your way down.
Choose from 100+ tasty varieties
















Why Grow Dill Indoors?

If you’re looking to elevate your gardening game and enjoy the fresh tingly flavor of this fresh herb all year-round, growing dill indoors is the perfect solution. And with Gardyn’s innovative products and our comprehensive guide, you can easily cultivate this versatile herb in the comfort of your own home.
If you’re ready to set your best foot forward towards a more sustainable and healthy living, Gardyn is the solution for you. See how Gardyn’s innovations will work for you.
Enjoy Fresh Whenever Your Heart Desires
By growing dill indoors, you unlock the opportunity to harvest fresh dill leaves whenever you need it. Unlike outdoor gardening, which is subject to seasonal limitations, cultivating your own indoor oasis ensures a constant supply of aromatic dill leaves all year long. No more last-minute runs to the grocery store or settling for dry and wilted dill. Indulge in the delightful flavor and aroma of just-picked dill in every dish.
Make the Most of Your Available Space
Whether you have a spacious garden or a cozy apartment, indoor dill cultivation can be incredibly adaptable. By utilizing vertical gardening techniques, you’ll free up valuable floor space while still enjoying a bountiful harvest of dill.
Take the Easy Route
Even if you’re a novice gardener, growing dill indoors is an excellent choice! As an herb that thrives in indoor environments, dill is easy to grow, making it rewarding for beginners. With our step-by-step guide and Gardyn’s foolproof technology, you’ll have everything you need to successfully grow dill from seeds to vibrant plants!
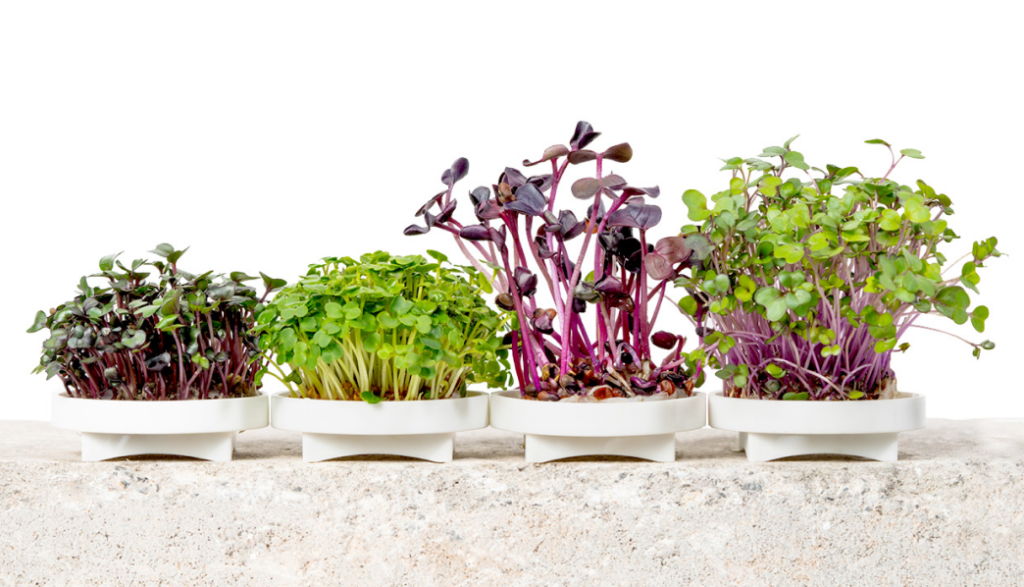
Grow Microgreens, Too
Bite sized superfood packed with nutrients and loaded with flavor. Go from seed to harvest in just one week.
What do You Need to Grow Dill Indoors?
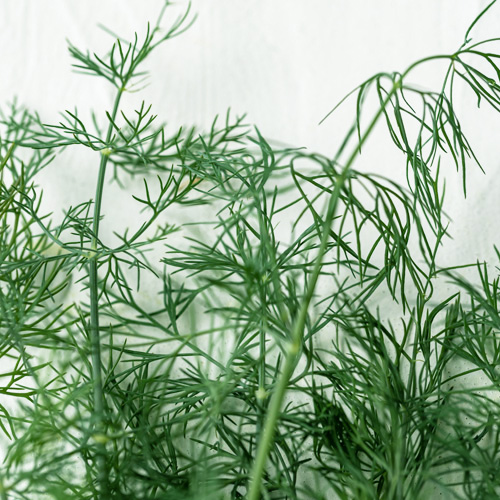
A few elements are essential for successful indoor dill cultivation. From choosing the right soil to finding the perfect location, let us guide you through the necessary steps to create an optimal environment for growing dill indoors.
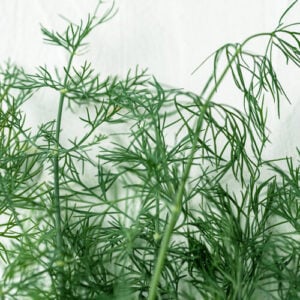
- Start by choosing among the different varieties of dill (Fernleaf, Bouquet, Mammoth, etc.), the one that you want. Some are tall, some are compact: make sure to pick the one that sets fireworks for your tastebuds;
- Choose a container that is at least 12 inches deep to accommodate dill’s long taproots. It must have drainage holes to prevent waterlogging and promote proper drainage. Nobody wants root rot!
- Select a well-draining potting soil when growing dill indoors. Look for soil mixes that are specifically formulated for herbs, as they provide the ideal balance of moisture retention and aeration;
- Keep the temperature between 60 °F and 75 °F (15 °C and 24°C). Avoid exposing your dill plants to extreme temperature fluctuations, as this can stress them.
- Maintain a humidity level of around 40–50%. If your indoor environment tends to be dry, consider placing a tray filled with water near your dill container to increase humidity.
If you’re looking for a hassle-free and comprehensive solution, the Gardyn Home Kit offers an all-in-one alternative, providing you with everything you need to cultivate dill and other herbs indoors. It offers pre-packaged soil pods tailored to the needs of various herbs, including dill. These ready-to-use pods take the guesswork out of soil selection and guarantee optimal growing conditions for your dill plants.
It features built-in LED grow lights that mimic natural sunlight, allowing you to cultivate dill indoors without relying solely on available sunlight. Finally, Gardyn’s Home Kit incorporates a smart watering system that ensures your dill plants receive the right amount of water at the right time, taking the guesswork out of watering and helping you maintain optimal moisture levels.
How to Plant Dill Indoors?
Dive into the world of indoor dill cultivation and enjoy flavorful, fresh herbs right at your fingertips. Follow these simple steps to ensure that your dill plants will thrive in your indoor garden.
Step 1: Preparing the Container
First of all, select a container that is at least 12 inches deep to accommodate dill’s long taproots. Ensure that it has drainage holes to prevent waterlogging and promote proper drainage. Then, fill the container with high-quality potting soil, preferably one formulated for herbs or vegetables. For a hassle-free planting experience, use Gardyn’s Home kit: its designed planters are perfect for growing dill, are reusable and offer proper drainage.
Step 2: Providing the Right Growing Conditions
The dill plant will need sun! Place your container in a location that receives at least six hours of direct sunlight per day, near a window or on a windowsill. If natural light is limited, supplement with artificial grow lights. Make sure to maintain a moderate room temperature between 60 °F and 75 °F (15 °C and 24°C) for optimal dill growth.
Step 3: Planting Dill Seeds
Start by moistening the potting soil with water, ensuring it’s evenly damp but not soaking wet. Sow the seeds, seedlings or yCubes on the surface of the soil, spacing them approximately 1 inch apart. Gently press them into the soil using your fingertips. Dill seeds are small, so you don’t need to bury them deep.
Now, you only have to wait a few days and let the seeds germinate.
How to Care for Your Dill?
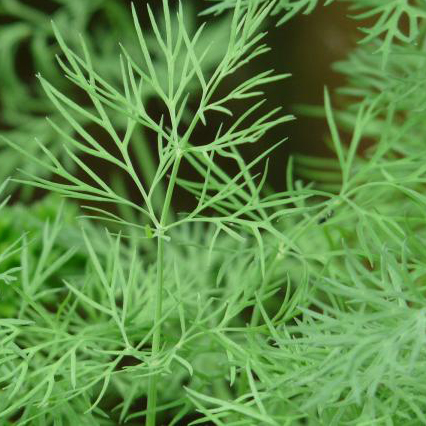
Learn how to provide the best care for your dill plants to ensure their healthy growth and abundant flavor. By following a few tips and taking advantage of Gardyn’s innovative technology, you’ll enjoy a thriving indoor dill garden effortlessly. Here’s everything you need to know about growing inside your home:
- Dill likes moderate moisture levels: water the plants when the top inch of soil feels slightly dry to the touch, so as to keep the soil slightly moist. Avoid overwatering, as this can cause root rot. Ensure proper drainage by using appropriate and adapted containers;
- Feed your dill plants with a balanced fertilizer once a month to provide them with essential nutrients;
- Pruning regularly helps your dill plants grow bushier and encourages the production of fresh leaves and flowers. Trim the outer leaves and harvest the flowers regularly to promote continuous growth and prevent the plant from becoming too leggy.
- Keep a close eye on your dill plants and inspect them regularly for any signs of pest activity. Look for chewed leaves, discolored foliage, or the presence of small insects. Keep your indoor gardening area tidy and ensure good air circulation around your dill plants. If, despite everything, you still notice pest activity, opt for organic pest control methods to keep invasions at bay.
Feel free to take advantage of Gardyn’s state-of-the-art technology! It takes the guesswork out of indoor gardening, providing an all-in-one solution for effortless dill cultivation. The combination of automated watering, intelligent lighting, and optimal nutrient delivery in Gardyn’s system ensures your dill plants have everything they need to thrive. With Gardyn’s user-friendly app, you’ll receive pruning reminders and expert tips to ensure you’re taking care of your dill plants at the right time and in the correct manner.
Harvest Dill and Enchant the Flavor of Your Food
Discover the joy of harvesting your homegrown dill and explore the many ways to incorporate its fresh flavors into your culinary creations. From enhancing your favorite dishes to adding a vibrant touch to your home decor, dill offers a versatile and aromatic experience. Let’s dive into the art of harvesting and using dill, making the most of your indoor garden!
How and When to Properly Harvest Dill?
When your dill reaches a height of about 8 to 12 inches (20 to 30 cm), it is ready to harvest. This usually occurs around 6 to 8 weeks after planting, depending on growing conditions. Choose a dry day to harvest dill to avoid excess moisture that could compromise the herb’s flavor and quality.
Make sure to use clean gardening shears or sharp scissors, cut the dill stems just above the base, leaving a few inches to encourage regrowth. Harvest the outer leaves and stems first, allowing the inner parts to continue growing for future harvests.
Get Creative and Set Free Your Culinary Adventures
Fresh dill leaves are a delightful addition to a wide range of dishes. They infuse a distinct flavor and aroma that complements various cuisines. Having dill in your kitchen is very convenient and allows you to pluck fresh dill leaves whenever inspiration strikes, ensuring the most vibrant and flavorful results.
Add chopped dill to salads, marinades, dressings, and sauces for a refreshing twist. Sprinkle dill over roasted or grilled vegetables to enhance their natural flavors. Incorporate dill into your fish and seafood recipes for a delicious herbal accent. Remember, the possibilities with dill are endless! Feel free to experiment with incorporating this aromatic herb into your favorite recipes.
Create herb-infused oils and vinegars by combining dill with other herbs like basil, thyme, or rosemary. These homemade infusions can be used to elevate your culinary creations.
Recipe: Creamy Dill Dip
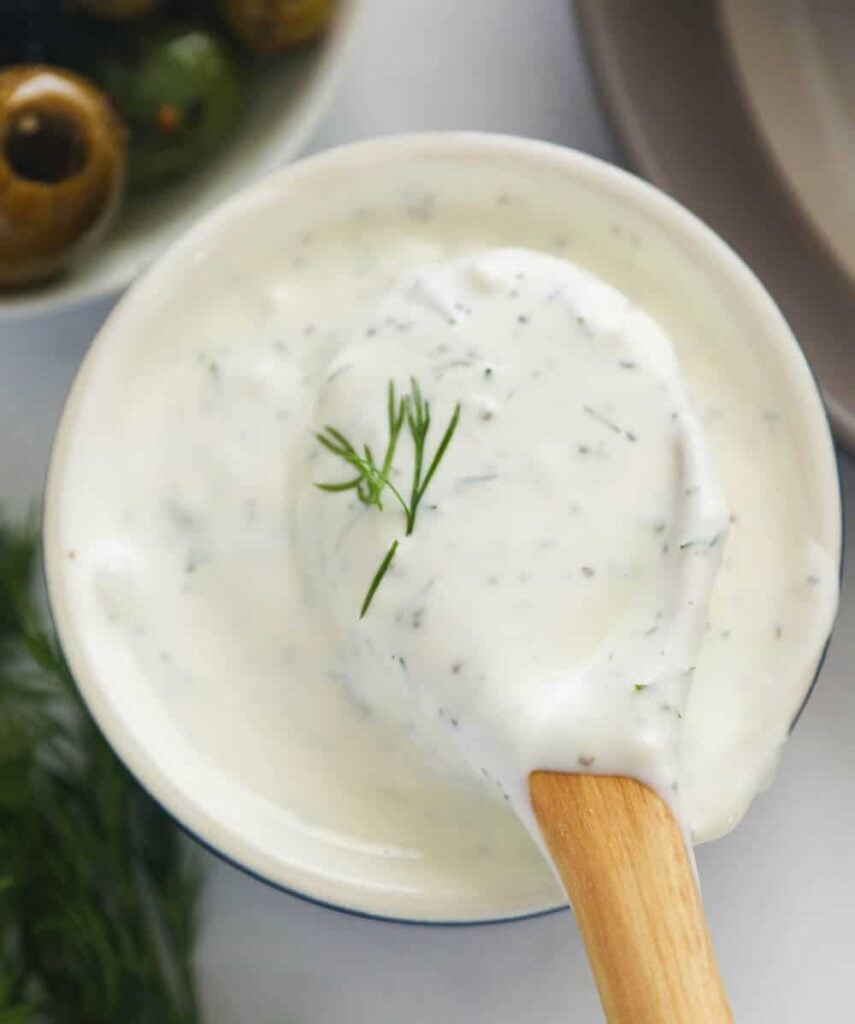
Indulge in the creamy goodness of this delectable dill dip. It’s perfect for entertaining or as a refreshing snack. Here’s what you’ll need:
- 1 cup sour cream or Greek yogurt;
- 1/4 cup mayonnaise;
- 2 tablespoons freshly chopped dill;
- 1 tablespoon lemon juice;
- 1 garlic clove, minced;
- Salt and pepper to taste;
Instructions:
- In a bowl, combine the sour cream (or Greek yogurt) and mayonnaise until well blended;
- Stir in the freshly chopped dill, lemon juice, minced garlic, salt, and pepper;
- Mix thoroughly, ensuring all the flavors are well incorporated;
- Refrigerate the dip for at least 1 hour to allow the flavors to meld together;
- Serve with your favorite vegetables, crackers, or chips and enjoy the tangy and herbaceous taste of homemade dill dip!
Enjoy the Delights of Indoor Dill Growing With Gardyn
As you embark on your indoor dill growing journey, learning how to successfully nurture dill from seeds to flourishing plants has never been easier!
Let Gardyn support you every step of the way: by offering you tips, solutions and advanced gardening technology, the journey of cultivating your own dill becomes even more accessible and rewarding.
Grow All Your Produce
for as low as $29/Month
No products in the cart.

